How to Hang Blackout Curtains – 3 Easy Steps
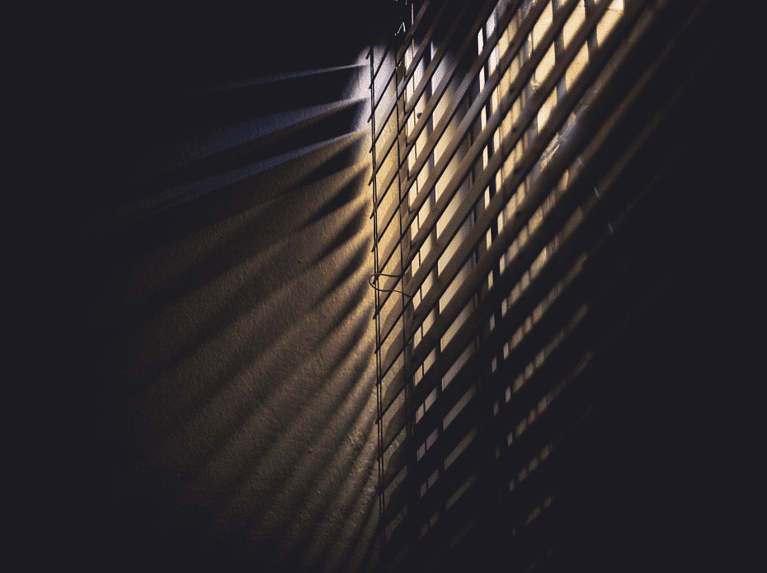
When my daughter was born, I faced a dilemma that many parents can relate to – how to establish a peaceful night’s sleep for my newborn in her nursery. The bright streetlights and the early morning sun streaming through the window threatened to disrupt her very delicate sleep.
After lots of research, I picked out the best blackout curtains and installed them in the nursery. It made a world of difference in the quality of her sleep and, consequently, ours as well.
In this article, I’ll guide you through the process of hanging blackout curtains in three easy steps. It’s a straightforward task, and it’ll transform your space into a peaceful sanctuary where you or your little one can enjoy uninterrupted rest. So, let’s get started and learn how to hang blackout curtains.
I use affiliate links in some blog posts. If you click through and make a purchase, I earn a small commission at no extra cost to yourself. Thank you for your support.
How to Install Blackout Curtains
Hanging blackout curtains is an easy way to transform your space into total darkness. To get started, follow these three simple steps.
Step 1: Gather Your Tools and Materials
Before you begin installing blackout curtains, it’s essential to have all the necessary tools and materials ready. Here’s what you’ll need:
- Blackout Curtain Panels: Measure your window frame to determine the appropriate size for your curtain panels.
- Curtain Rod: Ensure you have a sturdy curtain rod that can support the weight of the blackout curtains.
- Curtain Brackets: You’ll need brackets to hold the curtain rod in place. Make sure they are compatible with your curtain rod.
- Drill: A drill will be essential for securing the brackets to the wall.
- Screws: You’ll need screws to attach the brackets securely to the wall.
- Level: A level will help ensure that your curtains hang straight and evenly.
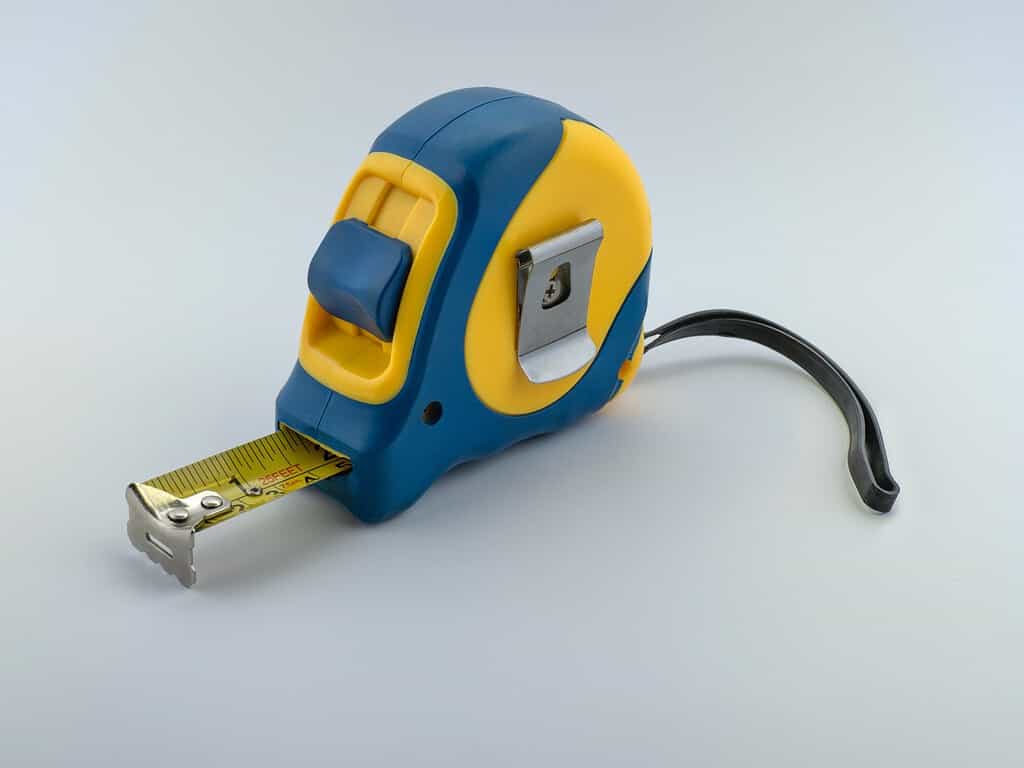
- Tape Measure: A tape measure is indispensable for accurately measuring your window frame and determining the appropriate size for your curtain panels.
Step 2: Install the Curtain Bracket

Now that you have all your tools and materials ready, it’s time to start the installation process. Follow these steps to install the curtain brackets:
- Measure and Mark: Use a measuring tape to determine the appropriate height for your curtain rod brackets. Make sure they are level with each other. Mark the spots on the wall with a pencil. I hung mine 8 inches above the top of the window frame.
- Drill Holes: Use your drill to create holes at the marked spots. Make sure the holes are deep enough to securely hold the screws.
- Attach Brackets: Place the brackets over the holes and insert the screws. Tighten them using your drill until the brackets are firmly attached to the wall.
- Mount the Curtain Rod: Slide the curtain rod into the brackets. Make sure it’s level. Once the rod is in place, tighten any screws on the brackets to secure the rod.
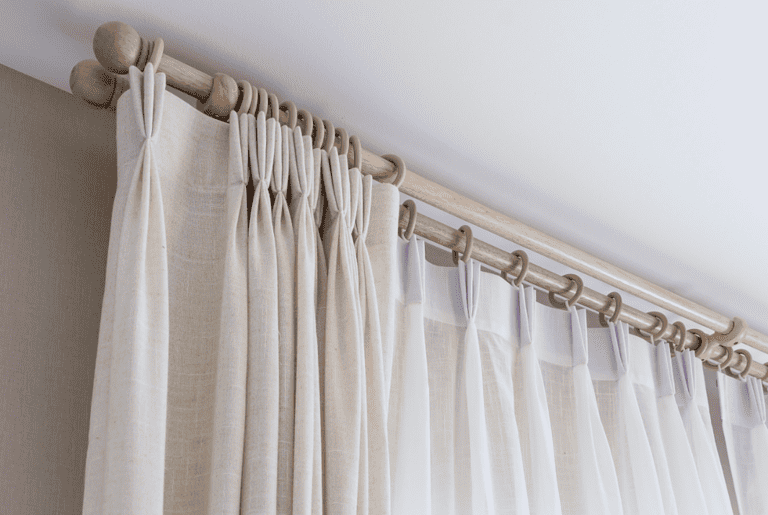
Step 3: Hang Blackout Curtains

With the curtain rod securely in place, it’s time to hang your blackout curtains. Follow these steps:
- Prepare the Curtain Panels: Start by unfolding your blackout curtain panels and ensuring they are wrinkle-free. If needed, iron them before hanging.
- Attach Curtain Rings or Hooks: If your curtains come with rings or hooks, attach them to the top of the curtain panels. These will be used to hang the curtains on the rod.
- Hang the Curtains: Carefully place the curtain rings or hooks onto the curtain rod. Make sure they are evenly spaced for a balanced appearance. Slide the curtains along the rod until they cover your window frame entirely.
- Adjust as Needed: Stand back and assess the curtains. If they are not hanging evenly or if they are too long, make adjustments as necessary. You can adjust the length by folding or hemming the curtains.
How to Hang Blackout Curtains Without a Drill
There are ways to hang curtains without a drill, and it’s a suitable option for those who prefer not to use power tools or are in an apartment/renting. To achieve this, you can consider using adhesive hooks or tension rods.
Adhesive hooks, designed to hold curtain rods, can be affixed to the wall without drilling holes. Make sure you select hooks that are strong enough to support the weight of your blackout curtains.
Another option is tension rods, which can be placed inside the window frame or between two walls, creating tension to hold the curtains in place. Be sure to measure the window’s width accurately to choose an appropriately sized tension rod.
Lastly, don’t forget about portable blackout curtains that can be hung up with suction cups or velcro. If you’re traveling, something like the SlumberPod could be another great alternative if you are trying to replicate darkness of the nursery.
While these methods may not be as robust as drilling, they are practical alternatives for those seeking a drill-free approach to hang blackout curtains effectively.
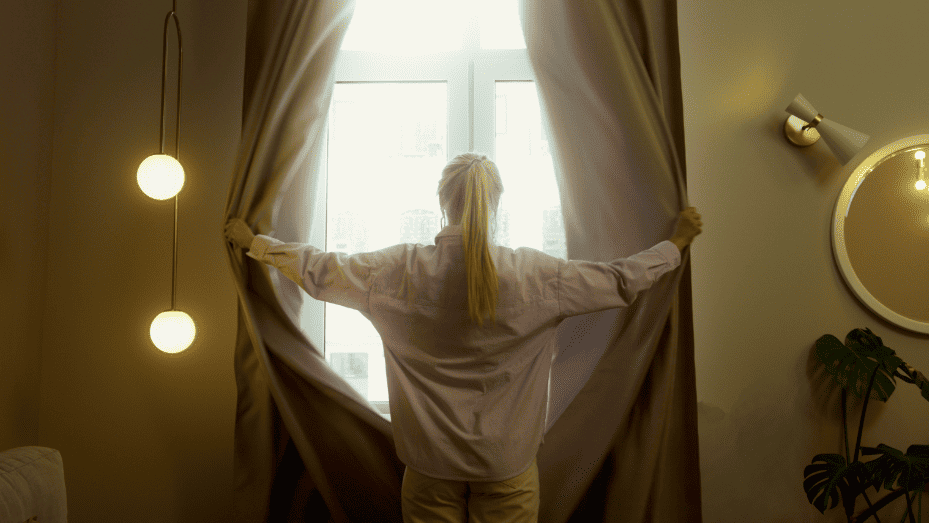
What’s the Benefit of Blackout Curtains
Blackout curtains offer a variety of benefits that make them a valuable addition to any home. Their exceptional light-blocking capabilities create a dark environment, promoting better sleep quality and helping to regulate circadian rhythms (they’re the best at making a nursery dark!).
Additionally, these curtains provide energy efficiency by acting as insulation against outdoor temperatures, leading to cost savings on heating and cooling. They also enhance privacy, block harmful UV rays to protect interior decor, and offer some noise reduction benefits.
With a variety of styles and fabrics available, blackout curtains can seamlessly complement your interior decor. Furthermore, they are easy to maintain, making them a practical choice for busy households.
Wrapping Up
In conclusion, if you’re looking for an easy-to-install way to hang blackout curtains, this step-by-step guide has you covered. Hanging blackout curtains not only transforms your living space into a serene sanctuary but also offers numerous benefits, such as improved sleep quality and energy efficiency.
Whether you choose to use a drill or opt for drill-free methods like adhesive hooks or tension rods, the key is to follow the instructions carefully.
With the right tools and a little effort, you can enjoy the advantages of blackout curtains while adding a touch of style to your home.
So, don’t hesitate to take the leap and hang blackout curtains—it’s a simple yet highly effective way to enhance both your décor and your quality of life.